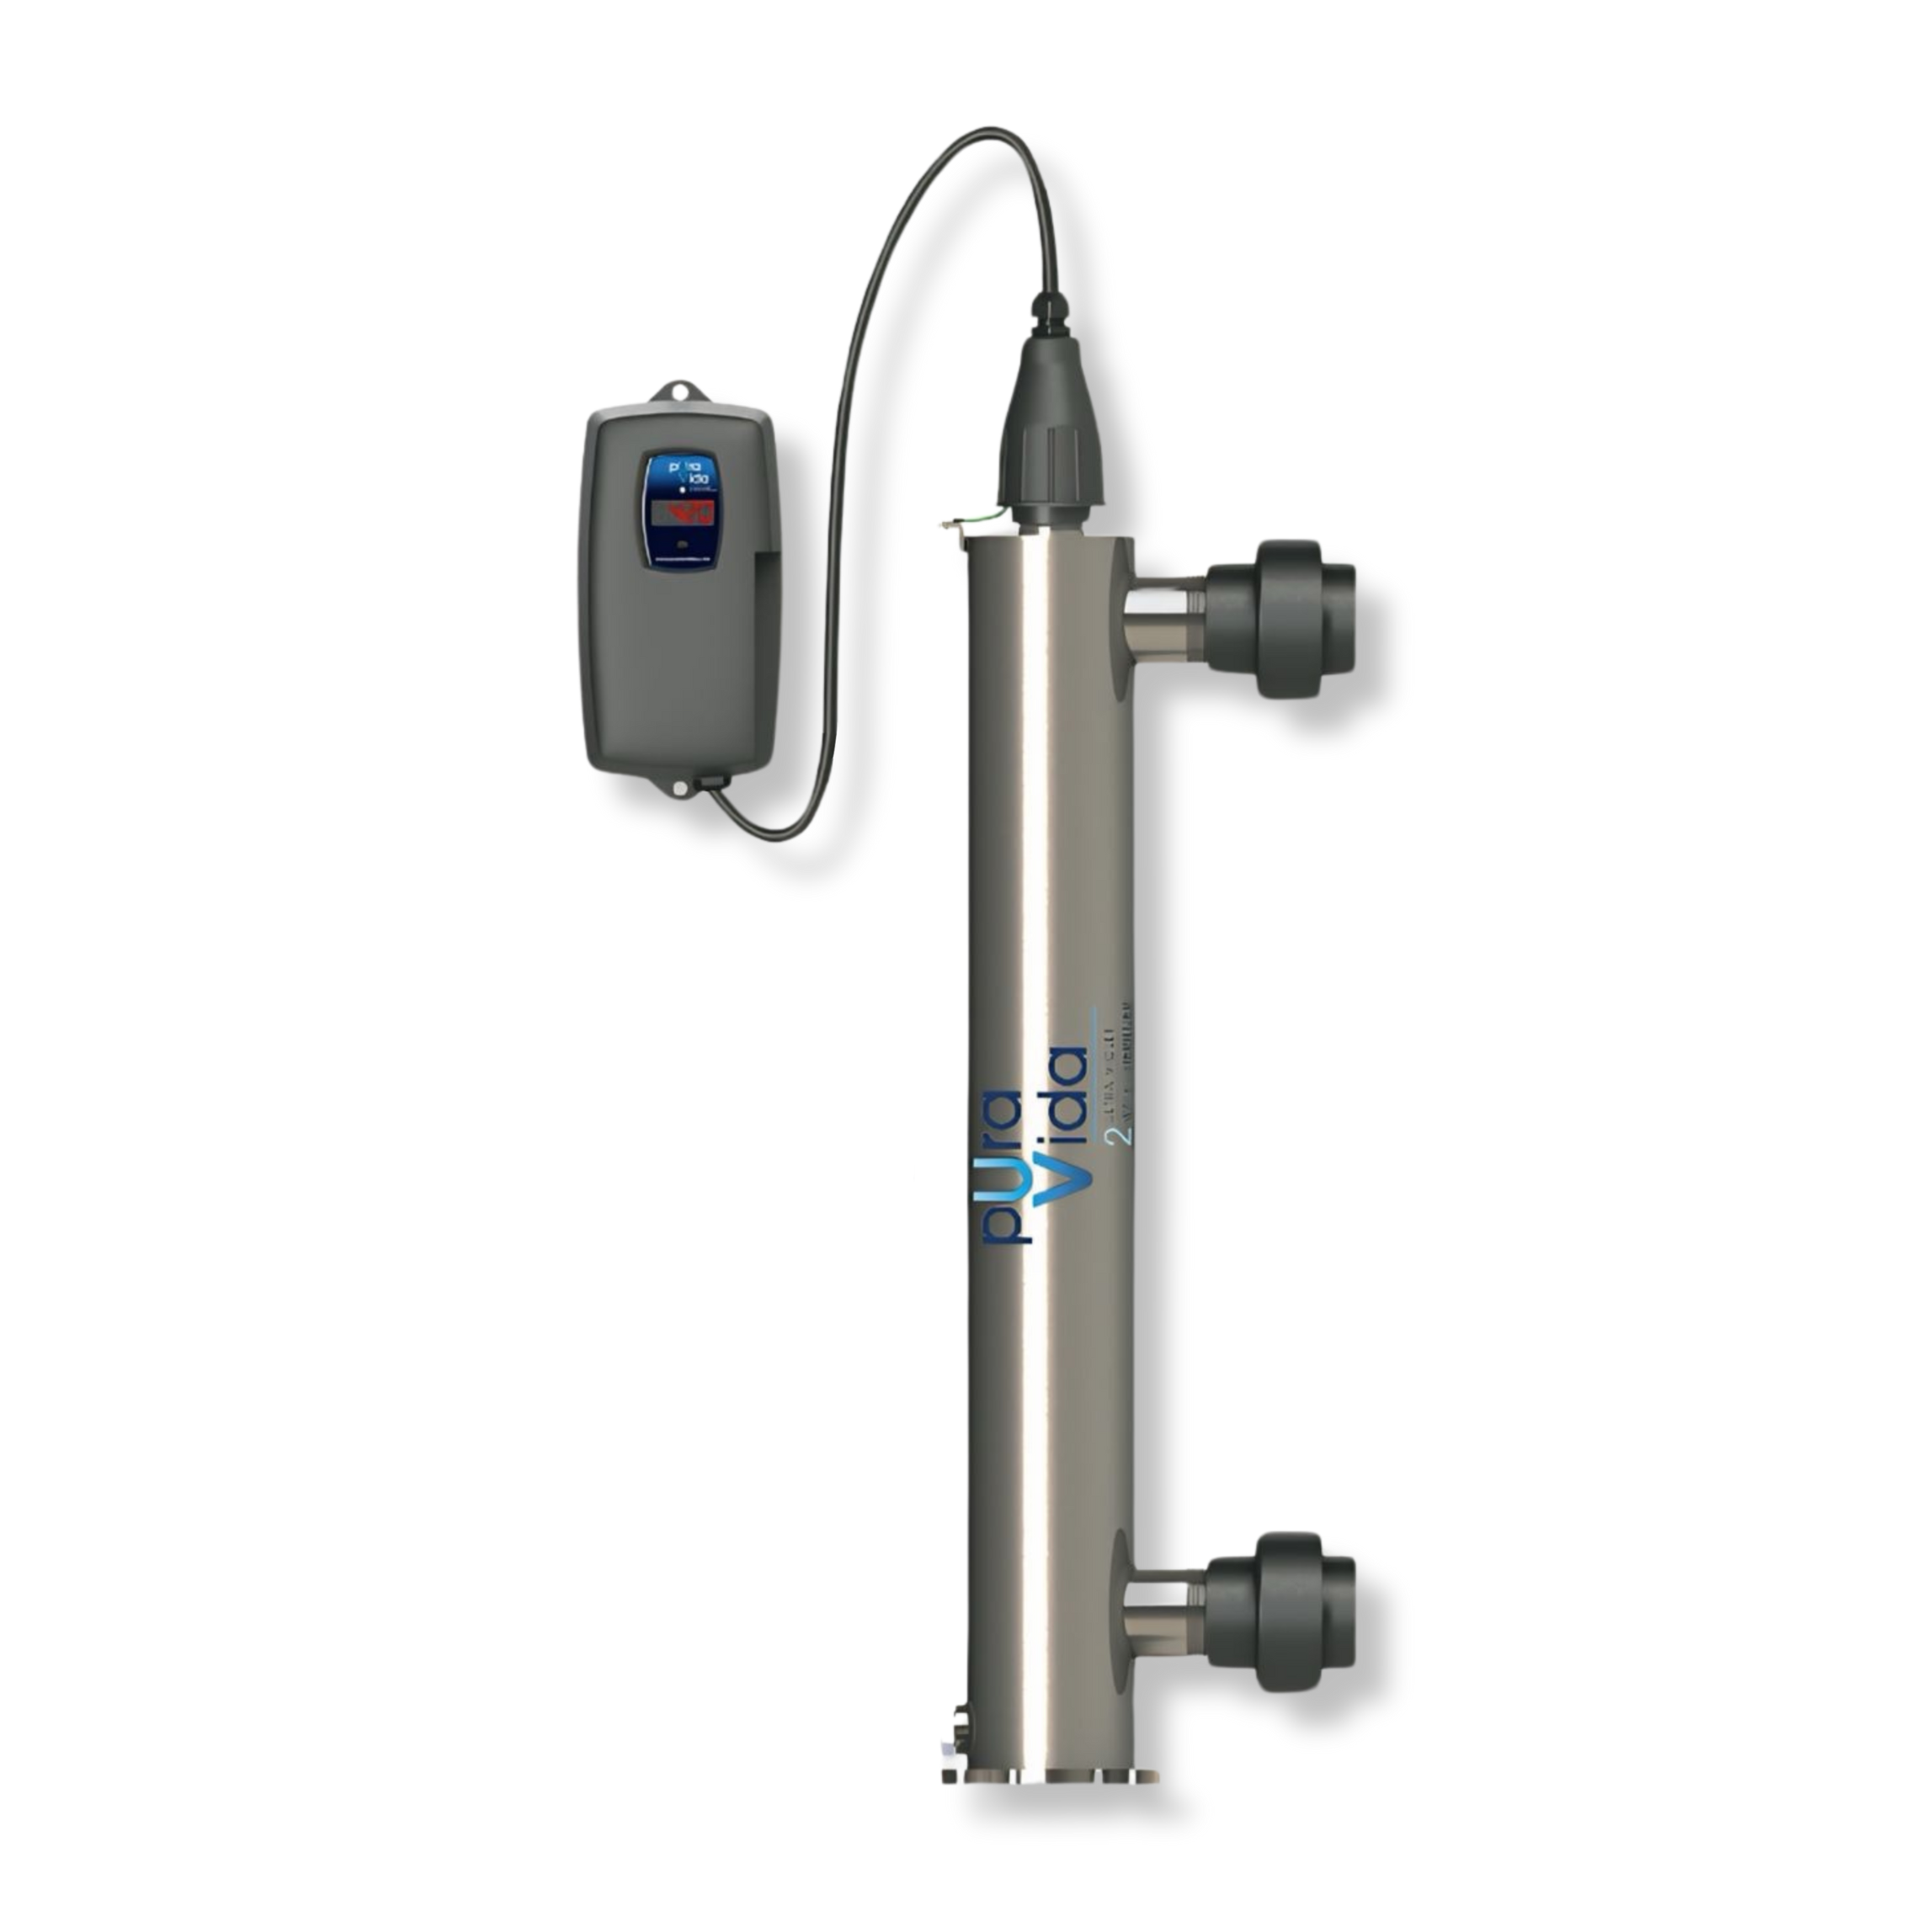

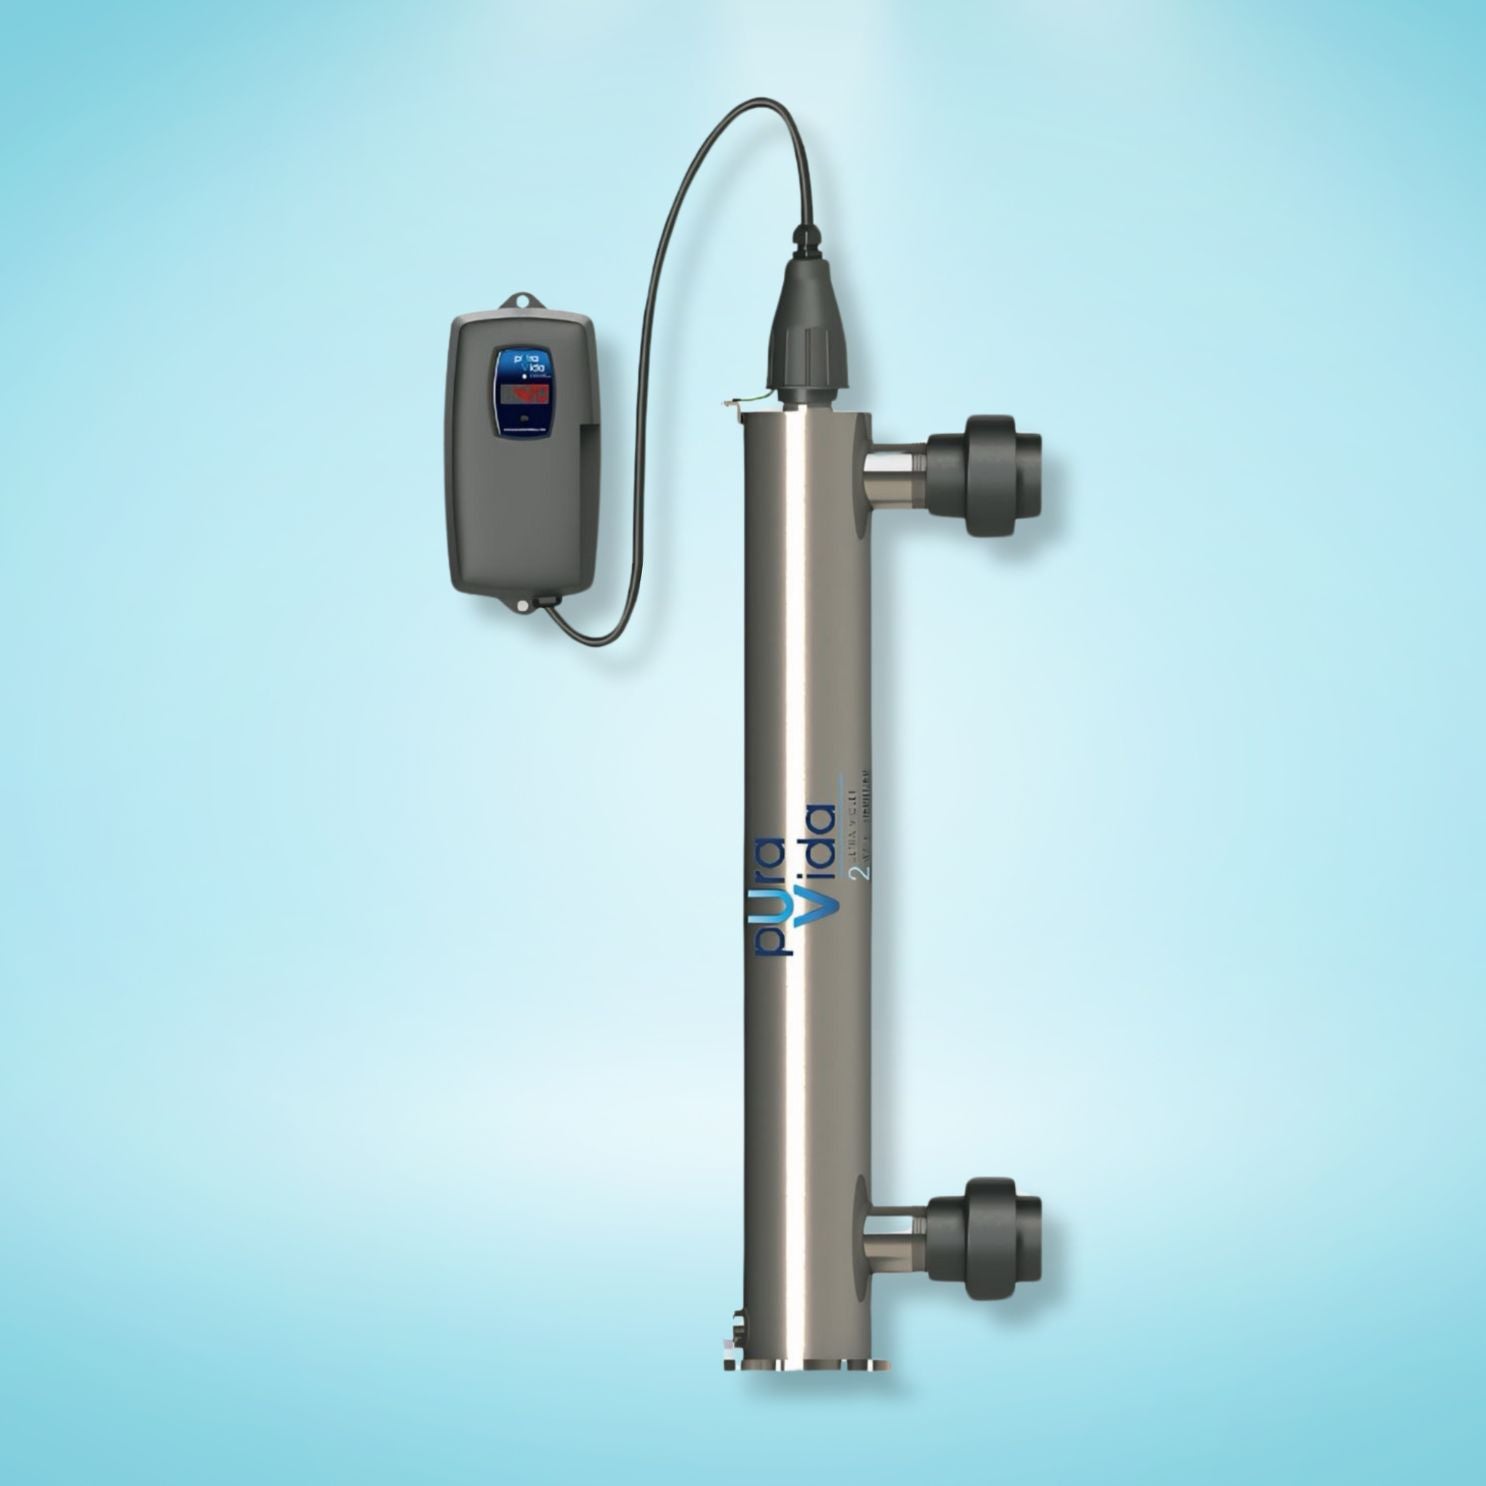
Installation and Specifications: Pura Vida 2
The use of a by-pass assembly is recommended as it will allow you to isolate the UV chamber. This will allow for easier access in case maintenance is required.
The chamber can be installed either horizontally or vertically. Vertical installation is the preferred method with the inlet at the bottom (lamp connection at the top) If installing horizontally additional mounting hardware is required (PN 510008).
The use of a by-pass assembly is recommended as it will allow you to isolate the UV chamber. This will allow for easier access in case maintenance is required.
If installing vertically, the base can be mounted to the ground however it is recommended leaving the unit unfastened for easy removal when storing during the off season.
It is recommended to have a pool professional connect the UV chamber to the water supply and may be a requirement depending on where you are located.
Step 1: Plumb system between filter & heater. Please note, the inlet should be at the bottom and the outlet at the top of the chamber. Use the union sealant that is included in the box to glue union to threads on stainless steel chamber. Use regular PVC plumbing glue to attach union to pool piping.
Step 2: Perform a Pressure Test . Insert pressure test cap (with o’ring) in top of chamber & screw on top gland nut. Turn on pump and observe for any leaks.
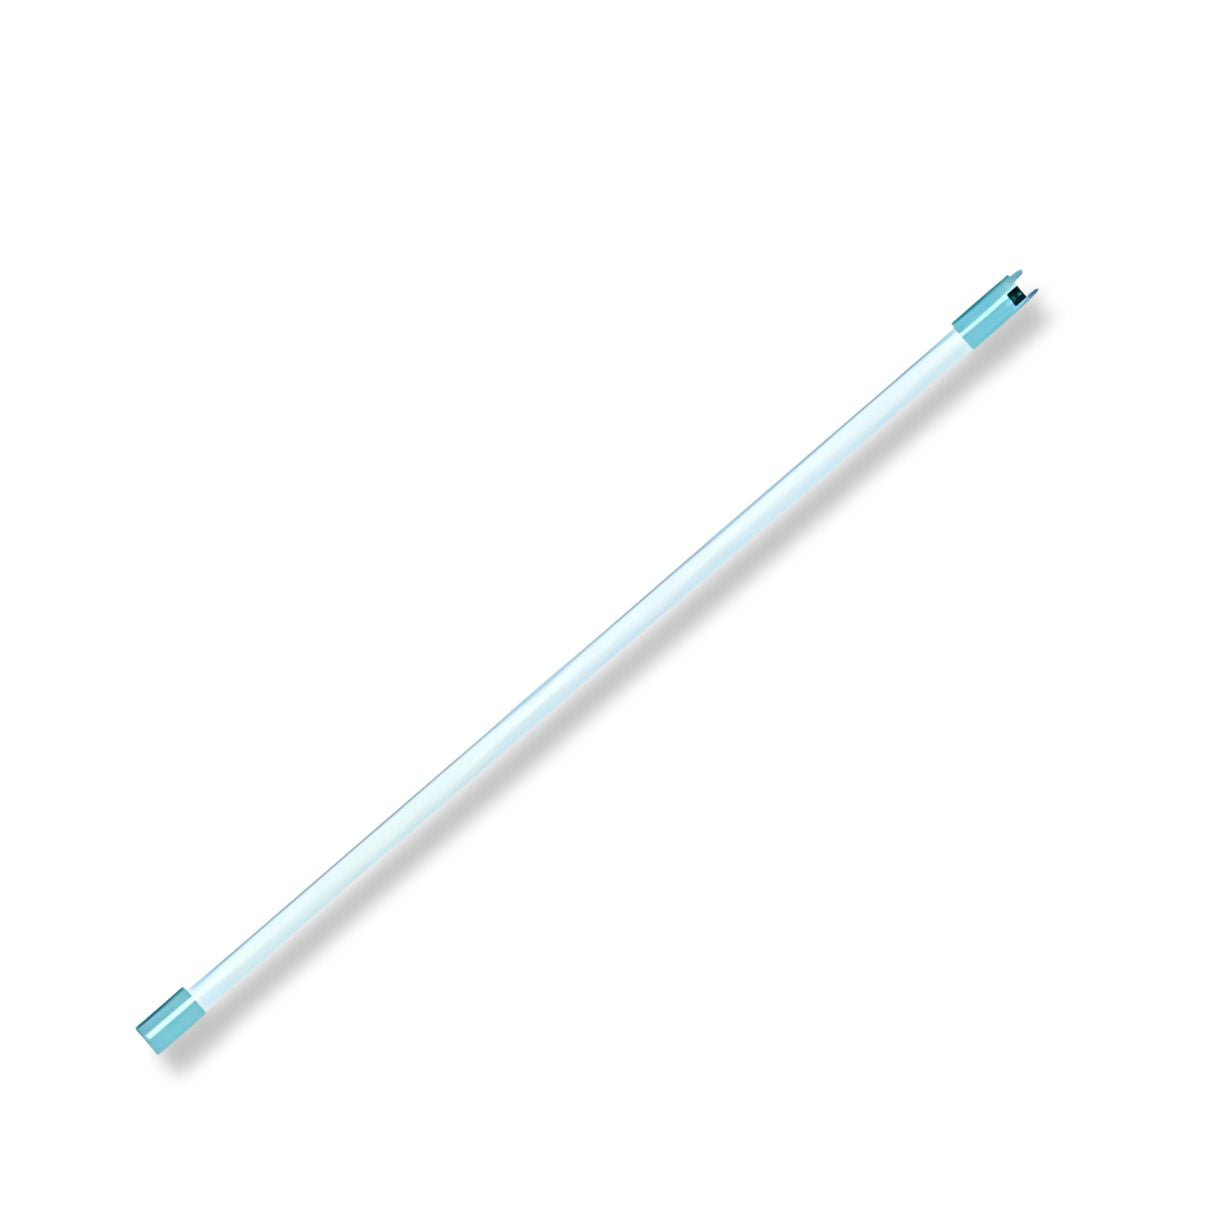
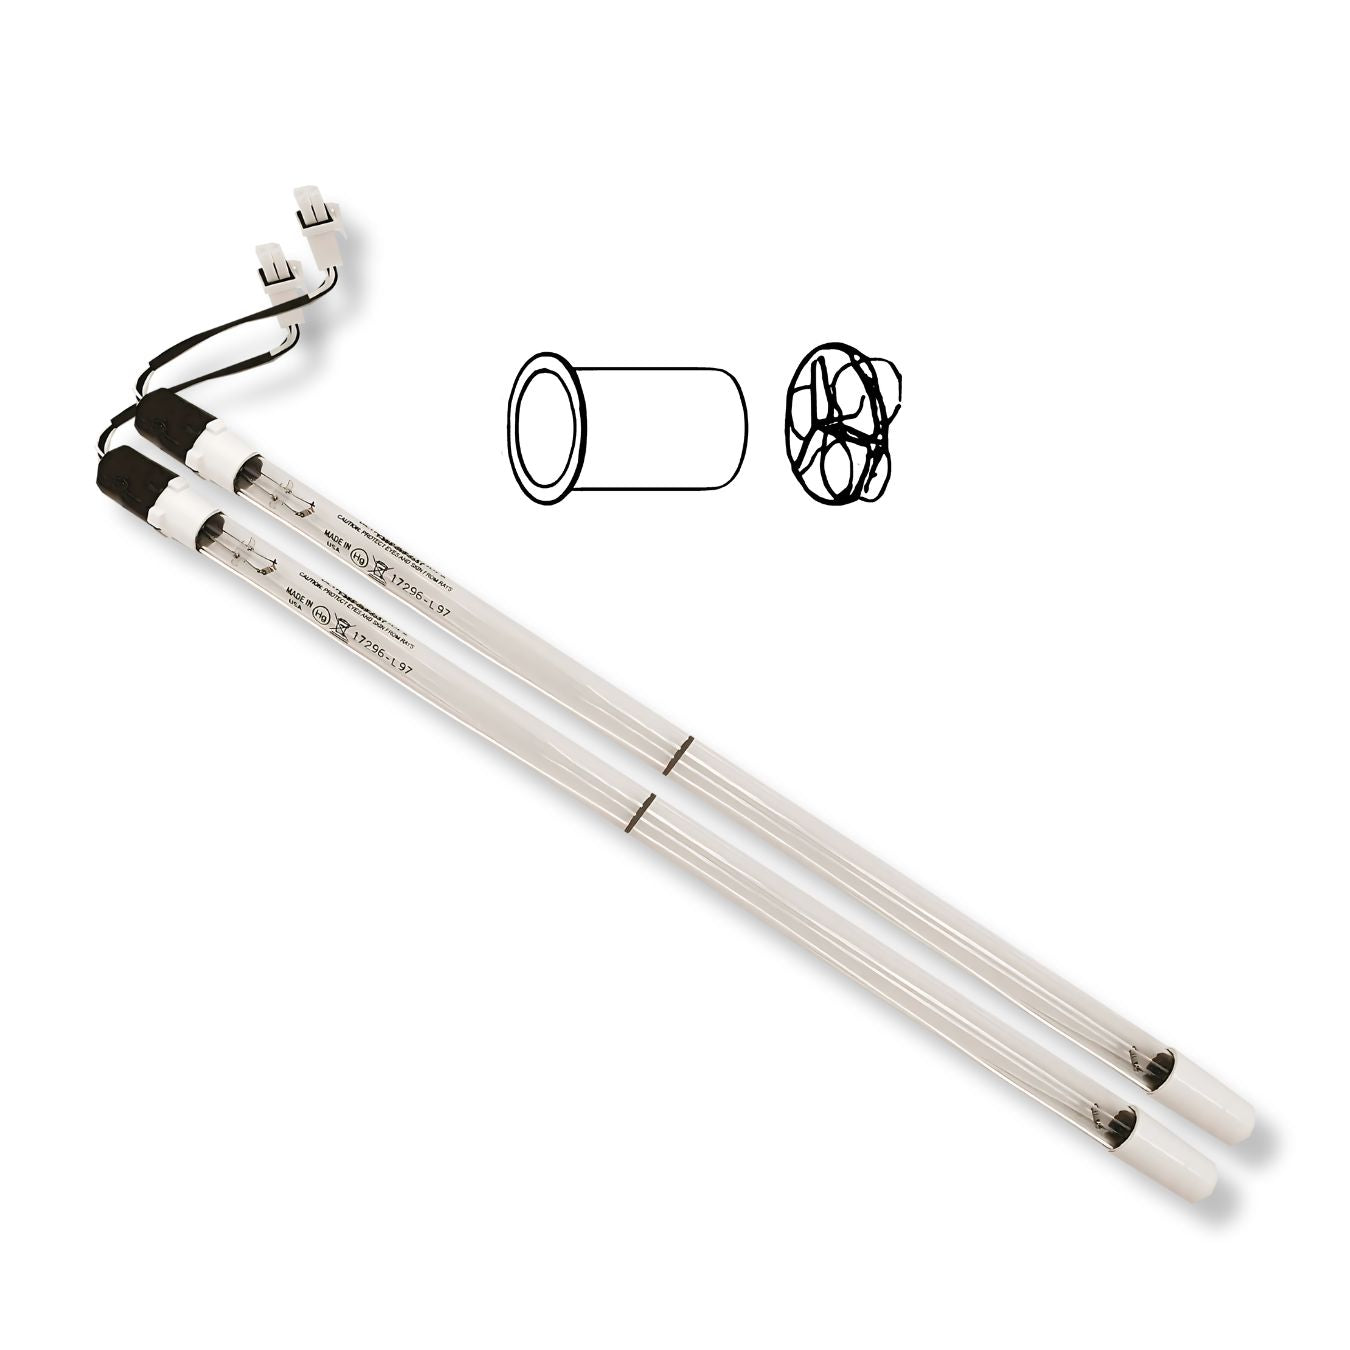
Step 3: Inserting the Quartz Sleeve. WARNING: Do not push glass sleeve down too far. Remove gland nut & pressure test cap. Gently remove the quartz sleeve from its packaging. The use of cotton gloves is recommended for this procedure as oils from the hands can leave residue on the sleeve and lamp which can ultimately block the UV light from getting to the water. Carefully slide the sleeve into the chamber until you feel it rest inside the centre of internal metal basket holder at bottom of unit (See Figure 4). There should only be 8-12mm (5/16”-1/2”) of glass exposed. Caution: Any more than 12mm of glass exposed can cause the quartz tube to break and void warranty.
Step 4: Install O’Ring and Spring. Slide the o’ring onto the quartz sleeve until it is butted up against the chamber. Insert spring inside quartz tube. PLEASE NOTE: DO NOT install a UV lamp inside the quartz sleeve without the o-ring and spring in place.
Step 5: Install gland nut. Hand tighten the gland nut over the quartz sleeve onto the threaded top of the chamber. Do not overtighten. It has a positive stop to prevent overtightening. DO NOT USE TOOLS for this step.
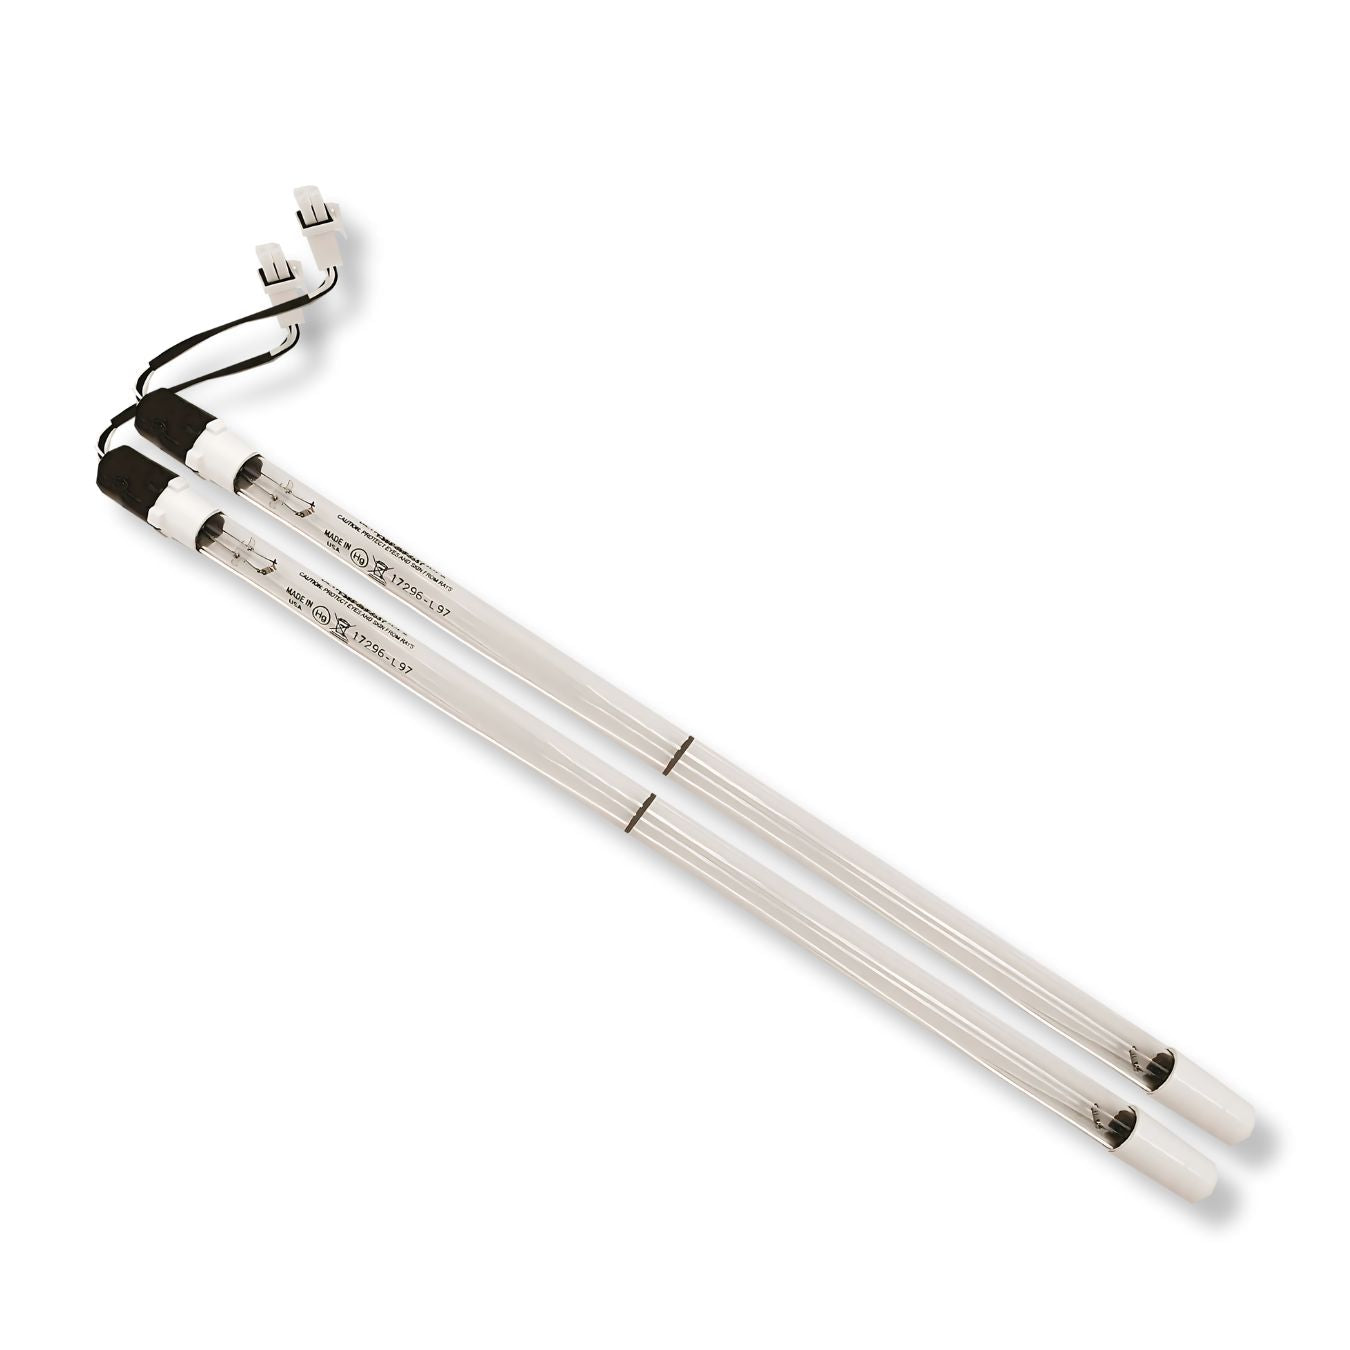
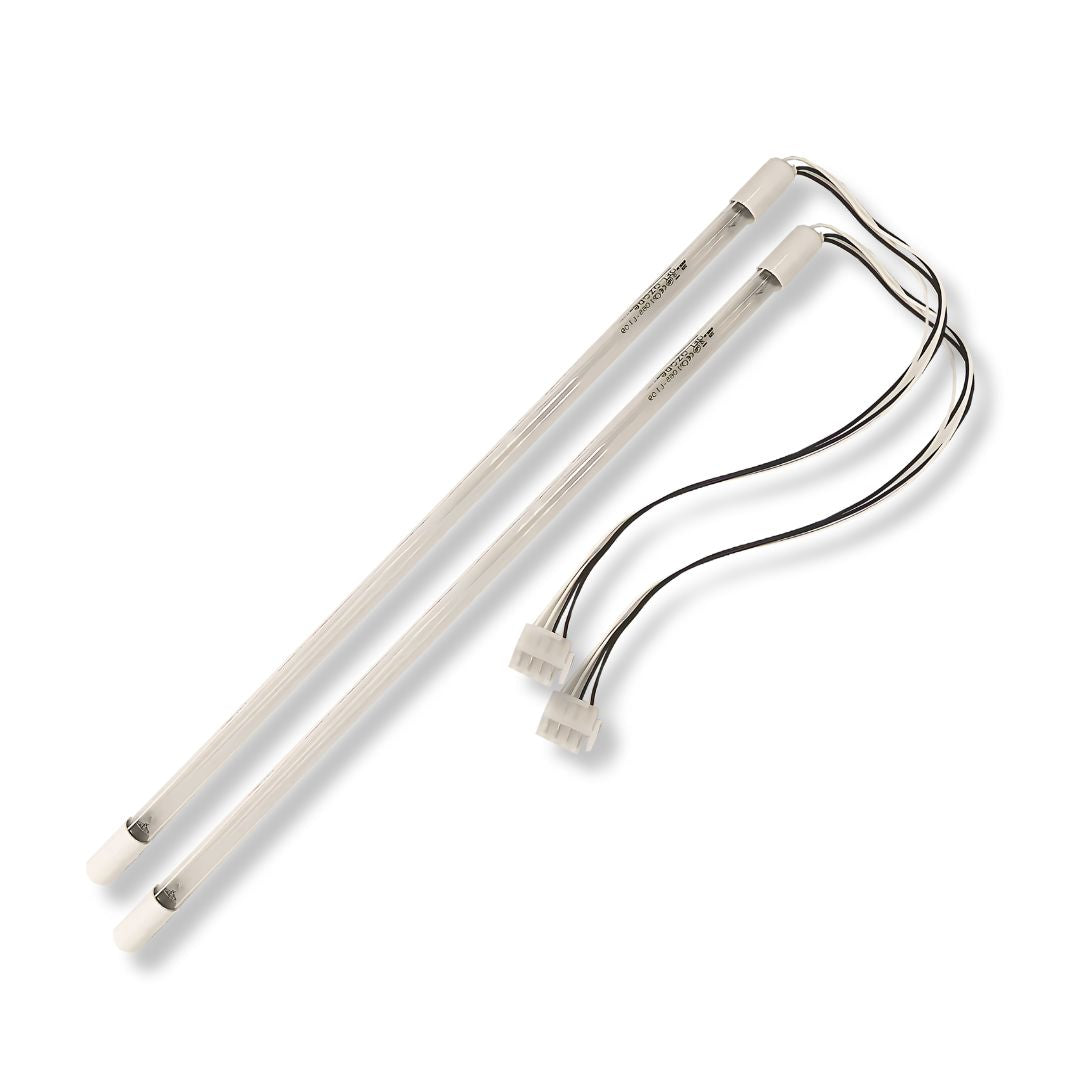
Step 6: Lamp installation. Carefully, remove the lamp from its packaging. Always hold UV lamps by their ceramic ends, not by the glass. Again, the use of cotton gloves is recommended. Make sure spring is inserted into the quartz tube before this step. Gently lower lamp into quartz sleeve.
Step 7: Connecting the lamp. Plug the lamp connector into the lamp. Note the keying for proper alignment (Figure 5). Insert the lamp connector into the gland nut, gently push down then turn the connector approximately ¼ turn clockwise to lock the connector to the gland nut.
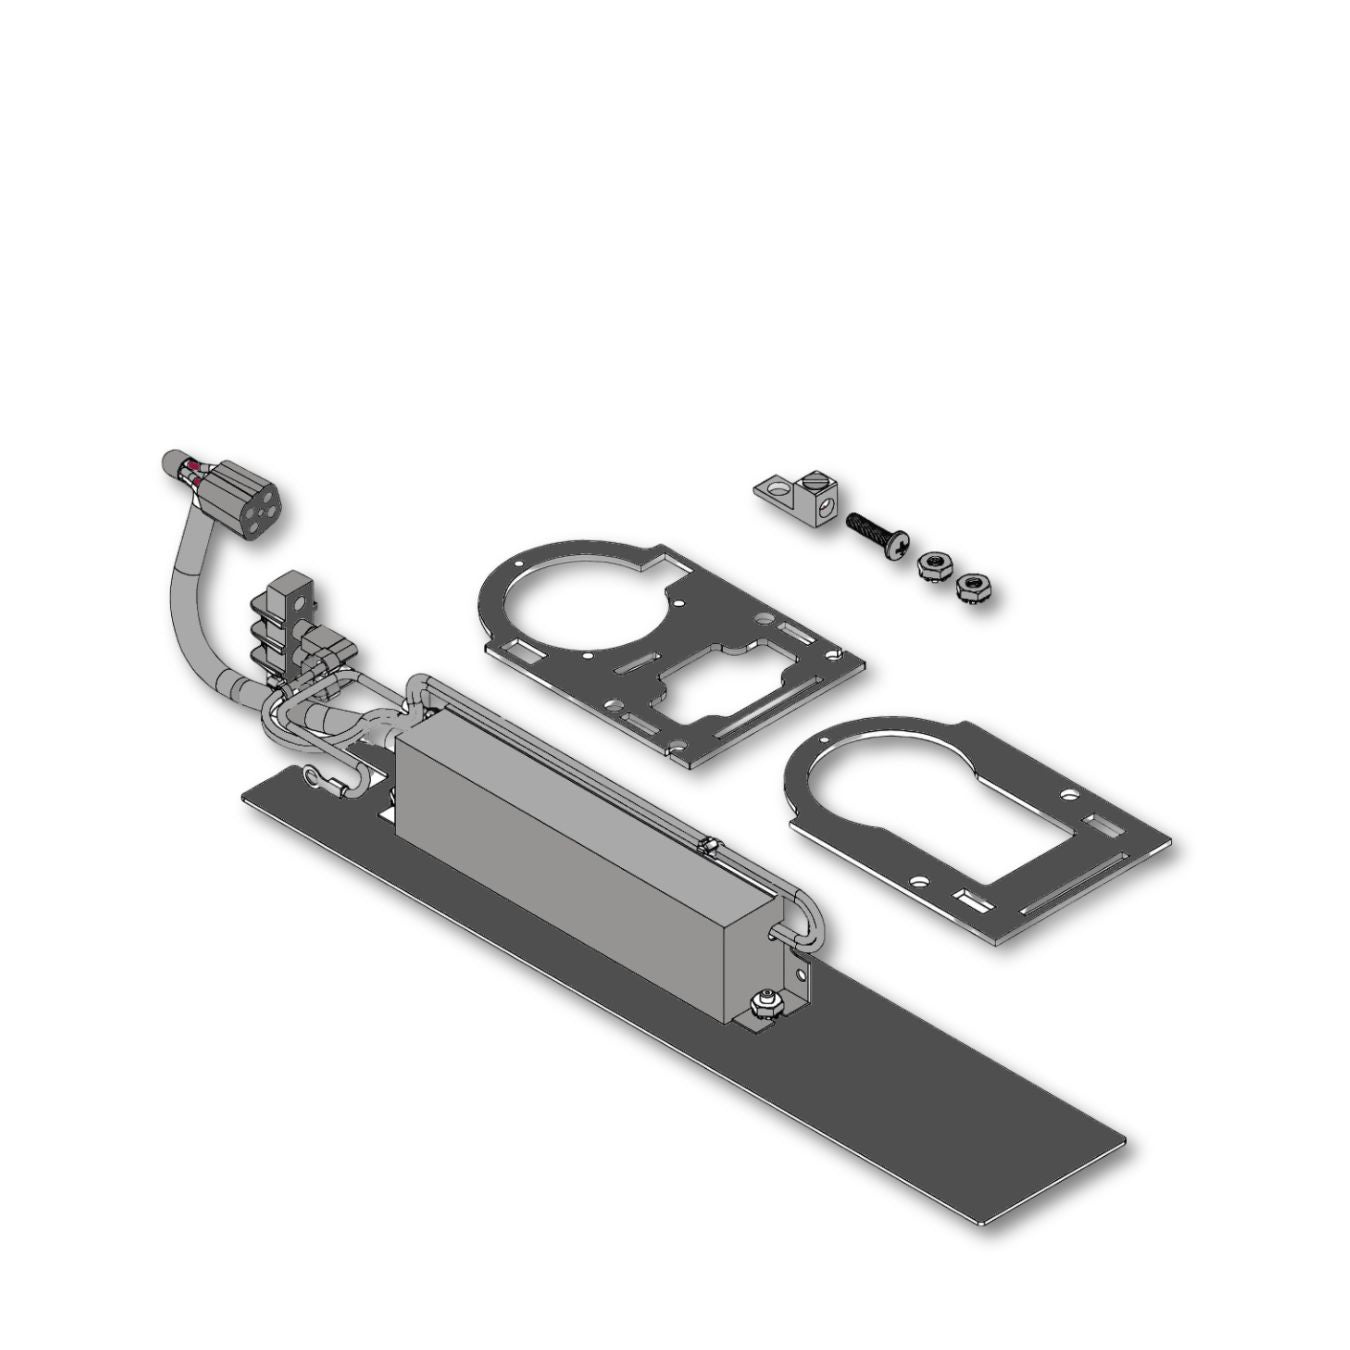
Step 8: Tighten the captive ground screw to the ground lug on the UV chamber to ensure proper grounding (Figure 7).
Step 9: Mount controller in an upright vertical position nearby with supplied screws. If controller is directly exposed to the elements, the enclosed ballast cover is required to protect the controller and maintain warranty coverage. Your system is now ready to be plugged into the appropriate GFCI protected outlet. You may consider keeping quartz tube and bulb packaging for off season storage, if this winterization method is required (See page 8).
See owners manual for complete installation instructions

CHAMBERS– Three (3) year Limited Warranty
ELECTRONICS– Three (3) year Limited Warranty
UV LAMPS– One (1) year Limited Warranty
QUARTZ SLEEVES– One (1) year Limited Warranty